Last Updated on March 8, 2022 by Allison Price
You’ve probably heard of the many ways that a tarp can be used to cover your hay stack so it doesn’t get moldy or wet.
Have you heard of commercial-sized dessicant pouches that can absorb moisture underneath your Hay Tarp? I didn’t know this. I didn’t know any better until I met Sandy and Roger, a couple who owned an innovative horse-owning business, as well as a packaging company!
Dessicant pouches, also known as absorbent packets, are small, water-resistant containers that are used to protect electronics, supplements, and other products from moisture. These pouches are made from activated charcoal, silica gel, and bentonite. This has to do with keeping hay dry, and not moldy. These dessicant pouches are also available in large bags that can be used inside shipping containers to Asia.
Sandy and Roger have 1500gm Cargo Dry Paks. You will need 5 bags or paks per year. They come in 10 boxes. Buy from them in Canada at Buyer’s Packaging, Delta, BC. Make sure to mention that you would like to use dessicant paks for your hay protection. They offer a significant discount to horse owners over regular customers.
You can purchase from the States the same 1.5 g Cargo Dry Paks online. This brand (Cargo Dry Paks), is great because they can be thrown away (natural ingredients) and come with tie-strings (so they can be tied to the poles easily – see below). Because these bags are so heavy, it is important to compare shipping costs when price shopping.
How to Set Up Super Dry Hay Storage
You can store your hay in open fields, under a pole barn or any other structure, but these instructions will help you create an enclosed, dry, protected storage area for your hay. This area can be made using only tarps and wooden pallets, desicant bags of commercial size, and a few poles.
NOTE : This method is best for hay that will be stored temporarily – not for active hay stacks that you are pulling bales every day. See the section below for active/temporary storage.
First, cover the area where you will place your hay with wooden pallets. Cover the wooden pallets with a basicblue poly tarp. This should extend at least 3 feet beyond your hay stack’s perimeter. (This extra length will be needed in Step 3. The ground tarp keeps moisture out of your hay by preventing it from rising from the ground.
Step 2 Arrange your bales into a pyramid/cone-shaped shape so that water can easily run down and off. My Dad discovered a way to do this: Take a lot of rectangular Lego pieces and designate one Lego piece for each bale. Find the area of ground you have, and then set up your Lego/bales to cover it. Next, experiment with building your stack of haybales. Your completed Lego stack model should be brought with you to unload the hay.
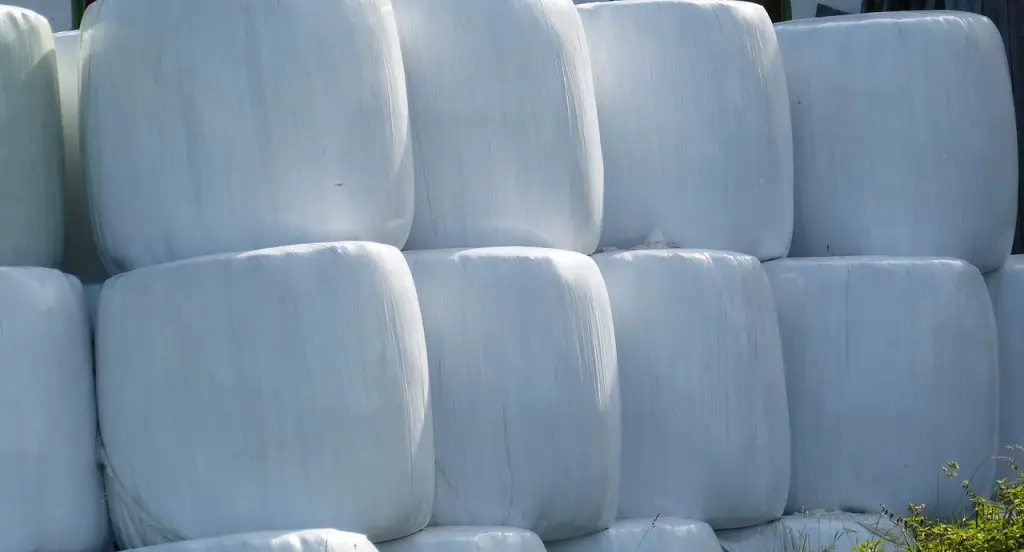
Step 3 Once your hay has been properly stacked, bring up the sides and tie the tarp to ensure it remains wrapped around the bales. You now know why at least 3 feet of extra tarp should extend beyond the hay stack. You can’t leave the bottom tarp on the pallets as water will eventually flow from the edges into your hay stack if you don’t. This is what the process looks like on large hay stacks. However, I don’t have a picture. Here’s how it looks on smaller stacks. You can see how I used bungee strings to secure the sides of tarp around the bales.
Step 4 – Now you can make a tent with a 100% waterproof, UV resistant hay tarp. (see below for details and specifications). Use a large enough hay tarp to cover the entire stack. (You need to allow space for desicant bags to be hung – see Step 5). Then, tuck the tarp underneath the bottom layer of bales with at least 6 inches flap. You want to make a water-tight storage tent that is completely enclosed.
Note: Hay stacks can only be enclosed completely after they have been removed from the field and dried completely (usually one month). If the heat in the hay does not evaporate, it will condense and trap moisture in your hay tent. This can lead to moldy hay. Cover the top of your stack and only part-way down the sides until the hay is dry.
Step 5 Place your desicant bags (approx. 1500 grams) in your commercial-sized desicant bags Your hay tarp tent should measure 6”x12″‘. Sandy and Roger, mentioned above, told me that they tried many different locations and found the best one to hang each bag from a pole. They spaced the bags evenly around the stack. The bags last for a whole year, and they use five bags. The water begins to drip from the dessicant bags, so you can tell when they are full. They’ve tried drying them! They can be thrown away once they reach their maximum moisture level.
Five poles can be erected from the ground to surround your hay stack. Then tie the bags to each pole. This is too complicated for me, so I instead placed the poles horizontally on my hay stack 2 rows below the top. The poles were held in place by the weight of the bales at their top. I extended the poles about 14 inches from the nearest bale, and then tied the tie-strings to my dessicant bags to the poles. Voila! It was easy to purchase 4′ long metal poles at Home Depot.
To remove hay from my tarped stack I open one side by pulling out the cover tarp from underneath the bales and then releasing the ground-tarp from that side. The bales are removed. Next, I place the ground tarp over the sides and then tuck it back under the bottom bales.
Storing Hay in an Enclosed Barn or Shed
If you have an enclosed barn to store your hay in, then you don’t need tarp. You can hang the dessicant bags from the ceiling or wrap them around the hay stack.
You can use lower-priced sacrifice bales to block wind/rain from entering your barn. Sandy and Roger use this method in their barn. With the hanging dessicant bag, they have never had one moldy bale ever since they started using it for hay storage twelve years ago. They live in the super-wet, super-rainy Pacific Northwest (Langley BC).
Buying Cheap, but High Quality Hay Tarps
I was looking for the best price on large hay tarps that would cover 65 bales, and then tuck them in under them all round. I did this by comparing the quality and prices of four different tarp suppliers. It is not an easy task. You need to note the weight per square yard and denier as well as the weave count and material for each tarp that you are comparing pricing. It is important that the tarp you are comparing pricing on is 100% waterproof (not just water-resistant), and UV resistant. If you live in colder climates, this last one is an must.
Research is a must as the prices for identical tarps can vary by 30% to 50% depending on which supplier’s website I was visiting.
Then I found another trick. You’ll love it! TarpsPlus.com had the lowest prices, so I went to that site. I found out that different tarp companies could list the exact same tarp but in different categories and charge totally different prices!
So, I am in the Hay Tarp section. One 25’x33″ foot hay tarp is $189. Clicking over to the Gym Flooring Cover section, my daughter is a gymnast and me curious, I find that I can purchase TWO 20’x30″ tarps for $192. The specs are identical, so I can’t even tell the difference if they were placed side-by-side! The main difference between the hay tarp and the gym is that it weighs 8.5 oz/square yard. Crazy hey? But, if your budget allows, you can still get the same TWO 20’x30″ tarps in our Poly Tarps section at $168. You can also buy them individually.
What SIZE Tarp Should I Use To Cover My Hay Bales
Here’s where things get tricky! Even if you are not a math genius.
It is easy to determine the size of tarp that you will need. Simply call your hay farmer to ask: “If I am going to stack X bales (so the rain doesn’t run off), what size do I need? With about 6” left over to tuck in around the sides and the stack? To allow for hanging dessicant bags, add 2′-3″ to each side (see Step 5).
It is more difficult, but perhaps more precise, to determine the size of tarp that you will need. This can be done by measuring your hay bales’ width, depth, and height. To calculate the size of your hay stack, build your Lego model (see Step 2) and then use the actual hay bale measurements. This task can be delegated to any math pro you know. Add 2′-3″ to each side for hanging dessicant bags (see step 4). You don’t have any Legos? Now you have to draw your hay-stack model. It’s easiest to print graph paper. Make 1′ = 1 square. Depending on how many bales are available, you may need to tape several sheets of graph paper together.
Daily Feeding
You don’t need the dessicant pouches for a hay stack that you use daily to feed your horses.
You will have trouble getting into and out of your stack each day if it is located in a field or pole barn (roof only). This is because you must wrap it tightly to keep rain from entering your stack. It is possible to reduce the amount of work by only opening one corner at a time. If your storage doesn’t have walls or roofs, you will need to lay pallets on the ground, then cover them with a ground tarp and place it on your bales.
To prevent wind blowing off, place another tarp on top of the bales.
If your hay is stored in an enclosed barn with walls and roof, you can put a thick, flat tarp on the ground. Next, lay the pallets on top, cover them with another tarp and stack your hay. Finally, cover the stack with a third tarp.
To prevent wind blowing off the stack, tie the top tarp tightly around it. Or you can use extra pallets to lean against the sides. I prefer this method. You will have a lot more hay waste if you don’t want to cover the pallets with another tarp. If you live in humid climates, the hay that falls onto the pallets can mold in a few months. You will need to clean out all your storage (and the pallets). Start over. This method is great if your horses are eating through your Hay stack in 3-4 months.
My research revealed that many people were purchasing a whole winter’s worth hay for multiple horses at once, so they had a lot of storage space. In this case, the consensus was that the tarp should be placed on the ground and then the pallets. You shouldn’t place another tarp over the pallets as it will block airflow. It was suggested that you put a layer of straw or cheap hay on the bottom, as this will always get moldy. Then add your good hay. You should also cover the entire stack with another tarp.