
Last Updated on February 28, 2022 by Allison Price
Julie Goodnight, a clinician, will show you how to mount a second horse while you are on the trail.
Ponying simply means to ride a horse with the horse you are riding. Ponying is a great way to train a horse. The ponied horse’s herd instinct will kick in and he’ll follow his leader across terrain that may otherwise seem daunting, such as crossing water. He’ll also experience wide-open country that is spook-inducing without putting his rider at risk.
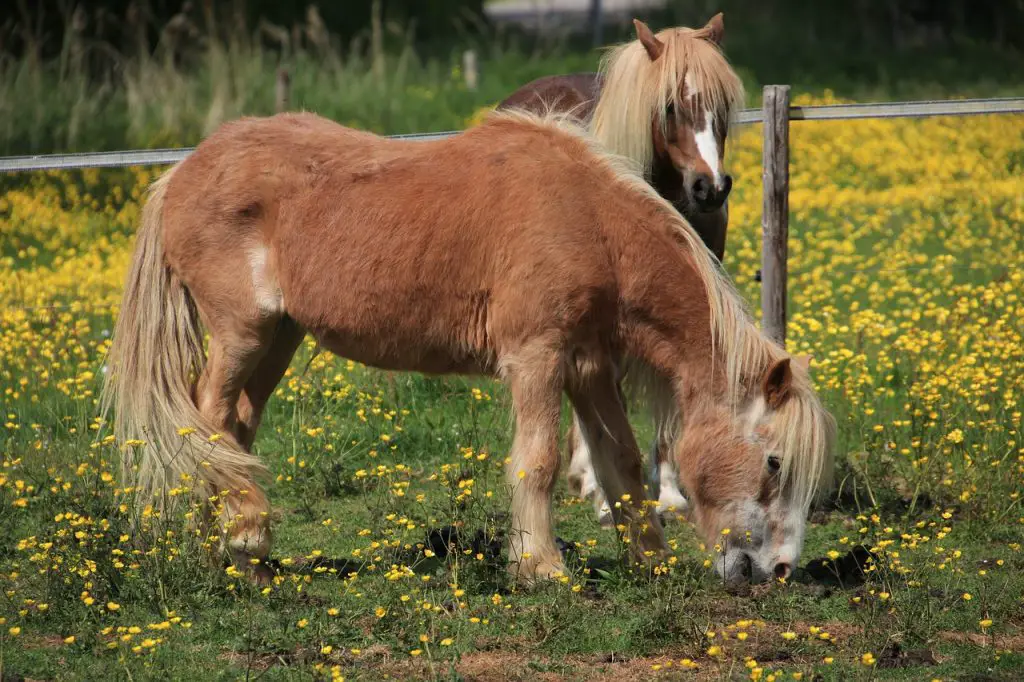
You can safely ride a second horse. This will allow you to introduce a horse to a trail or lead a pack horse. Heidi Melocco. Photo by Heidi Melocco
A horse you are carrying supplies to a campsite might be ridden by you.
You will need to be able to safely pony your horse. It can be difficult to ride your horse safely and pay attention to others while simultaneously holding the reins and the lead rope in one hand.
Horses don’t mind being near one another because they know it’s normal for them to move at speed when close together. Ponying is a fun and natural way to travel once you are comfortable with the ropes.
Julie Goodnight, a top trainer and clinician, will show you how to safely pony a horse while avoiding common pitfalls.
Exercise Prep
Before you start, ensure your pony horses–the saddle horses you’ll be riding–is comfortable around other horses. You should be able to control your pony horse with just one hand. This will allow you to have another hand to grasp the lead rope. He should not spook and be stable.
Pony horses should be calm enough to allow ropes to touch their legs and tails, and should not spook when they are dragging logs.
Ponied horses should be well led from the ground and halter-broken. Both horses should be able to communicate well with humans and have good ground manners.
What will you do: You’ll learn how to manage the rope of the pony horse, how to get the horse to move forward, how the horse can be taught to stay in place, and how to deal with new obstacles when ponying.
What you will need: A saddle with a rigid branch (a flexible branch may exert pressure unevenly across the back of your horse’s head if it pulls). Protect your hands from rope burns when the pony pulls.
Step 1. Step 1. Learn the ropes
The horses should be dressed in the tack described earlier. Place the pony horse’s ponied horse on its right side. Move to the left side of your pony horse, holding the reins and lead rope in your left hands, and then mount up. Once you are in the saddle, hold the reins in one hand and transfer the lead rope to the other.
Be sure to hold the rope of the pony horse in a way that it can be easily dropped by one horse.
Double the length of your lead rope to make it easier to shorten or lengthen. Once the lead rope has been safely doubled, you will see a loop at your knee. Your hand should rest on your leg. You should never wrap the lead rope around the hand of the pony horse.
The doubled rope is in Goodnight’s left-hand. The rope closest to her pinky fingers is attached to the horse. It lies at the end of the rope. Double the length of the rope that extends from her thumb to forefinger. She is in position, relaxed and ready to cue her pony horse via neck reining.
Do not hold the rope too close to your body. This hold, and the absence of a doubled rope will allow your pony horse to fall behind you in the kicking position. A loose rope could also cause a wreck by tangling in the pony horse’s legs and slip under his tail.
Goodnight will keep the rein and rope in place as long as she is working with a young horse. She can instruct her pony horse to move forward and back by holding the rope, rather than dallying around the saddlehorn. If the pony horse starts to spook, she makes sure that they don’t get connected.
Goodnight will often loop the lead rope half-way around the saddle horn when she is confident that her pony horse obeys and conforms. This allows her to loosen her grip and only hold one end of the rope. The rope can be quickly released from the horn and is not knotted.
Step 2. Step 2.
Ask your pony horse to follow your normal rein and leg aids. Add a voice command to ensure that your pony horse hears it. Your pony horse will feel the gentle pull of the rope as he moves forward. Because he is halter-broken, he should be able to understand the pressure cues and voice of your pony horse.
To prevent horses from stepping in the wrong direction around obstacles on the trail, keep the pony horse and ponied horse together at the hip. Heidi Melocco. Photo
Don’t force your pony horse to follow your lead if he doesn’t understand. You don’t have the strength and you could end up breaking your back or pulling you off your horse.
Instead, you should stop your pony horse and wrap the rope around the saddle horn in half. Next, cue your pony horse to move forward and let him pull his body weight forward. Although it’s easy for the pony horse to pull against you at this point, he won’t be able to pull too hard against your pony horse’s weight.
Caution: You will need to be able to handle two horses simultaneously to successfully pony a horse. For example, ask your pony horse to slow down and then ask your pony horse to come forward. This kind of challenge is not for all riders. It is possible that you forget to stop your pony horse. You might be pulled off your pony horse or ridden by a scary pony horse. These are the first steps to take if you want to pony a young horse or unseasoned one.
Keep your pony horse’s ponied horse as close to your hip as possible so that they can’t move in any other direction around small trees or obstacles.
You can practice walking while holding the reins and lead rope. Start by walking straight ahead and then slowly increase your turns to the right. Once you feel comfortable with the rope, you can turn only to the right and your pony horse will follow. To ensure that the rope stays in place, turn towards your pony horse.
If the pony horse isn’t keeping up, turning to the left can be tricky. Make sure your pony horse is standing straight before you turn. If he falls behind, the leadrope can drop, touch the tail of your pony horse, or even slide under it.
If your lead rope is drooping, turn your pony horse to the right so that the rope doesn’t wrap around you. Drop the rope if necessary.
Step 3. Step 3.
To help your pony horse fall behind, you can simply pull him forward by bumping your fingers along the doubled line. This correction should be respected by your pony horse, as he is able to lead on the ground.
Your ponied horse shouldn’t be allowed to advance so far that he is in front of you knee. He will be difficult to control and you won’t have enough leverage. Your pony horse can now lead the herd, instead of following your pony horse naturally.
Pick up your rope-holding hand if your pony is moving too fast or too far forward. Point the rope in the direction your horse wants. Your ponied horse will be corrected by a quick bump from the rope-halter’s knot, just like it is during groundwork sessions.
Step 4. Step #4.
Begin asking your horses to change their gait when your pony horse is able to follow your lead and move in a predictable manner with your pony horse. Your horses will be able to transition from walking to trotting when you put them to work.
Your verbal cues or bumps of the rope can be used to cue your pony horse. Your ponied horse will soon be able to keep up with you, move in step and stay in place.
